
SPACE & CIRCULATION
Digital Sports Venue Space Design and Circulation Planning Guide
How to design a digital sports venue: start with the hard constraints of clear height, column grid and floor loading, then work through zoning logic, circulation routes, equipment layout, waiting and support areas, lighting, HVAC and ventilation, and floor finishes. It also covers multi-level and irregular floor plates, and closes with the delivery process from design brief to construction handover, together with the rework points that cost the most.
Put the same set of equipment into two different spaces and, once you are trading, the guest experience and the operating efficiency can differ by a factor of two. The reason usually has nothing to do with the equipment and everything to do with the design stage: whether the routes flow, whether the zones read clearly, where the people who are waiting end up standing, and whether neighbouring attractions interfere with each other.
This guide starts with the hard constraints, then works through zoning logic, circulation routes, equipment layout, waiting and support areas, lighting and atmosphere, HVAC and ventilation, and floor finishes. It then sets out how to handle multi-level and irregular space, and closes with the practical process that takes a project from design brief to construction handover — plus the points where rework is most likely to happen.

Start with the hard constraints: height, column grid, loading and fire
The first step in space design is not choosing a style. It is establishing what this particular unit can actually carry. Clear height determines whether you can install climbing or high-level attractions. Column spacing determines whether large-format equipment can be laid out in an uninterrupted run. Floor loading determines where heavy equipment can sit. Fire strategy and means of escape determine how the space can be divided. All four need to be confirmed while the drawings are still on screen — changing them once construction starts multiplies the cost.
Do not rely on the landlord’s drawings when you survey the site. Bring a tape measure and a laser distance meter and check the real clear height, deducting beam soffits, ductwork and sprinkler heads. Check the actual position and section of every column, the direction the doors open and the width of each opening, and confirm that the route for bringing equipment in will clear the service lift and the corridor corners. Plenty of “the equipment will not fit” problems come from doing the arithmetic only on paper.
The fire strategy needs to be settled early with the landlord and the fire maintenance contractor: escape widths, the number of exits, whether sprinkler and smoke detection coverage extends into any new zone, and the rating of partition materials. Agree the boundaries you are allowed to work within first. Only then does the rest of the design mean anything — otherwise the whole scheme can be sent back at approval stage.
- Measure clear height, column positions, door openings and lift dimensions on site — do not trust landlord drawings
- Group heavy equipment over stronger floor zones and keep it off weak spans
- Agree escape and fire boundaries first, then decide which zones can be separated
Zoning logic: organise the venue in four functional bands
A venue that is built to operate can usually be read as four bands: the entry and reception band (ticketing, changing, lockers, rules briefing); the main circulation band (the primary route that links every experience zone); the core experience band (equipment and play areas); and the support and dwell band (seating, food and beverage, spectator space, toilets). The proportion and position of those four bands decide how easily guests move and how long they stay.
Zoning is not about grouping equipment by product category. It is about organising around what state the guest is in. Someone who has just walked in needs orientation and preparation. Someone who is playing needs a continuous run of stimulation. Someone who is tired needs a seat with a view of their friends. Someone who is leaving needs the shortest route out that does not cross the whole floor. Zoning by guest state gets much closer to real use than zoning by equipment model.
There are three recurring zoning mistakes: placing the most expensive attraction directly opposite the entrance so it jams, putting the rest area somewhere with no sightline to the floor, and forcing everyone to cross the entire venue on the way out. All three show up after opening as “the space isn’t small but it always feels crowded” and “people don’t stay long” — and none of them can really be fixed through operations alone.
- Four bands: entry and reception / main circulation / core experience / support and dwell
- Zone by guest state, not by equipment category
- Avoid entrance jams, blind rest areas and an exit route across the whole floor
Circulation design: the full route in and out
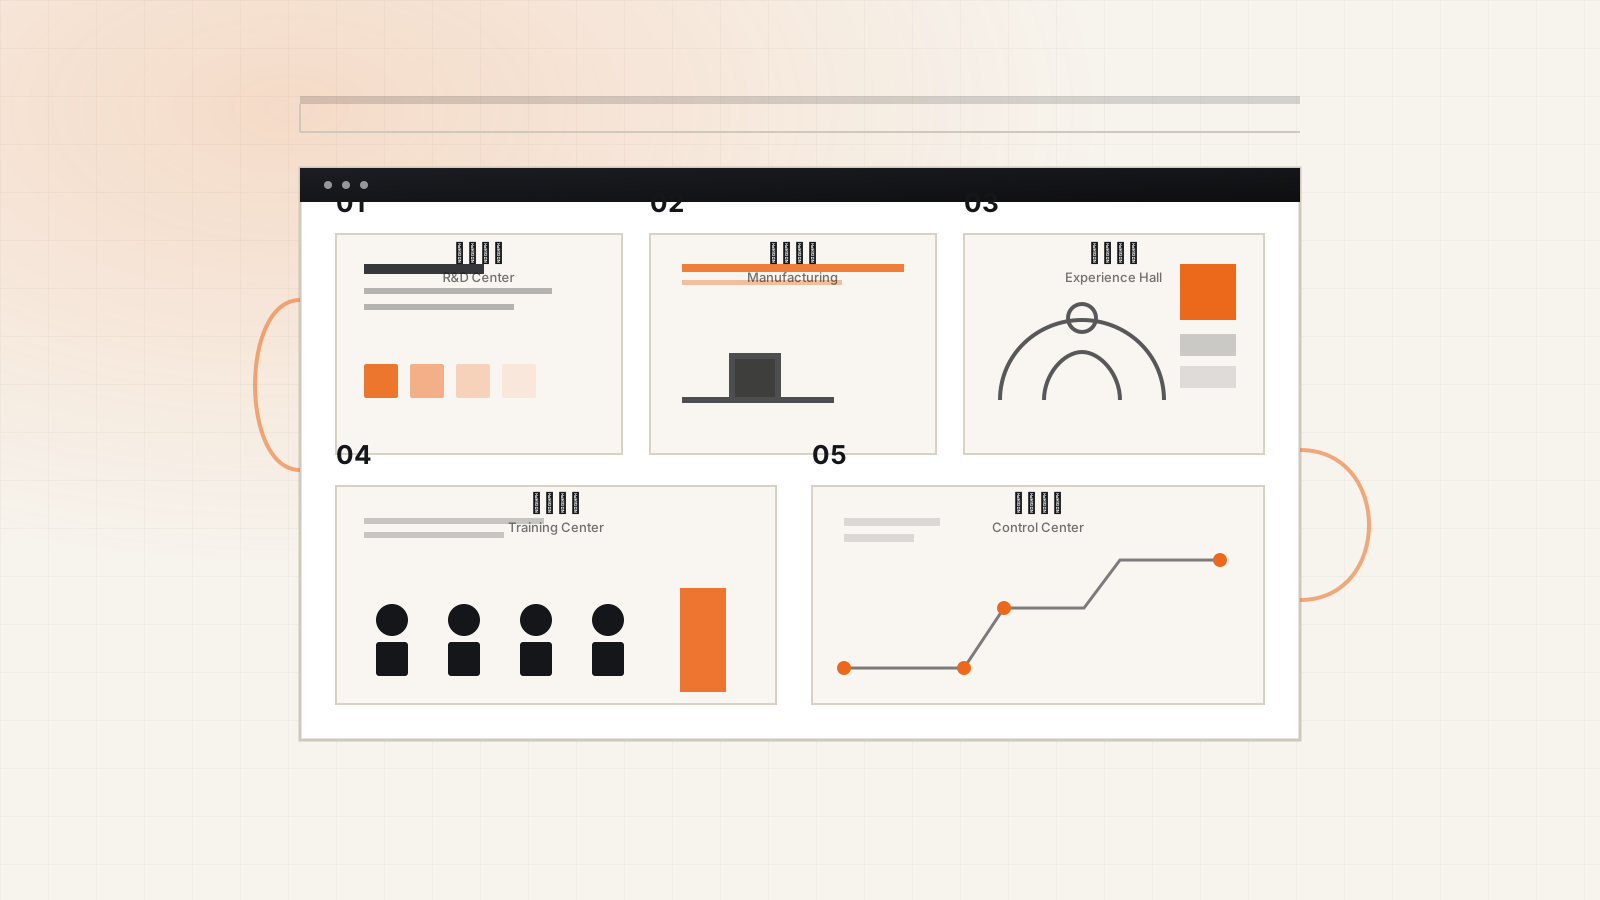
Circulation is the skeleton of the venue. A workable main route meets three tests: it is wide enough for two people to walk side by side plus one to stand still, it gives a sightline to at least two experience zones, and it carries clear directional cues at every turn. Too narrow and guests are constantly stepping around each other; closed sightlines mean people never realise what they have missed; missing cues mean first-time visitors keep doubling back.
The route can be structured as warm-up, peak, decompression, exit. Put low-barrier, high-visual-impact attractions at the entrance as the warm-up. Place the flagship equipment that draws a queue or a crowd in the middle to create the peak. Follow it with seating and light food and beverage as decompression, then channel guests towards member benefits and the reason to come back. That route is itself the conversion structure.
Two secondary routes also need designing. The staff route covers restocking, cleaning and equipment maintenance, and should cross the guest route as little as possible. The emergency route covers evacuation and first aid and must never be blocked by equipment or stock, at any time. Secondary routes are routinely overlooked, yet they determine whether day-to-day operations run smoothly and whether safety inspections pass.
- Main route width: two abreast plus one standing, with directional cues at turns
- Structure the main path as warm-up / peak / decompression / exit
- Plan staff and emergency routes separately, and keep them clear
Equipment layout: sightlines, noise and where crowds meet
Equipment layout is really about managing three relationships: sightlines, noise and footfall. Attractions that are meant to be watched should face the main route. Attractions that need concentration should be kept off it. Noisy units should be separated from quiet ones. Wherever flows converge, leave a buffer — otherwise you get a permanent cycle of collisions and stacked queues.
Size the layout by experience radius rather than by equipment footprint. The space a single attraction genuinely occupies includes the unit itself, its safety clearance, the queue area, the spectator area and the operating aisle. Lay out to the footprint alone and you will create congestion around the equipment the moment you open, and it will not be solvable by bolting on more barriers.
Three kinds of space also need to be reserved: maintenance access that lets a technician open the cabinet and change consumables, a temporary event area that can be cleared for tournaments, birthdays and team-building bookings, and enough slack to swap equipment later. Design those three in from the start and the venue has room to iterate. Design them out and every future change becomes a rebuild.
- Size by experience radius: unit + safety clearance + queue + spectators + aisle
- Keep noisy attractions away from quiet ones and buffer the points where flows merge
- Reserve maintenance access, a clearable event area and space for future equipment changes
Waiting and support: turn dwell time into spend
The waiting area is not “whatever is left over”. It is one of the most heavily used parts of the venue. Parents, friends and queuing guests all spend time there, and it has to do three things: let people sit, let them see the floor, and let them buy something. Take away any one of the three and dwell time turns into departure.
Seating works best spread along the edges of the play area rather than clustered in a corner. Edge seating keeps the floor in view and stays out of the main route; a corner block usually has a closed sightline and ends up as a place to dump bags and stock. Estimate seat count on roughly zero to one companion seat per player at peak — there is no need to design for a full house sitting down at once.
Support retail should sit next to the waiting area, not next to the entrance. Drinks, light food, claw machines and capsule toys are low-ticket, high-frequency purchases, and the conversion happens in the moment when someone is bored of waiting. Putting them where guests pass anyway, rather than somewhere they have to make a special trip, works better than opening a separate shop unit.
- Three requirements: somewhere to sit, a view of the floor, something to buy
- Seat along the edges of the play area so the main route stays clear
- Put support retail beside the waiting area to catch the bored-while-waiting moment
Visuals and lighting: atmosphere as an operating tool
Lighting in a sports venue does three jobs: it makes safe areas visible, it makes equipment graphics read, and it separates one zone from another. Base lighting has to keep routes and steps clearly legible. Accent lighting picks out equipment and photo spots. Ambient lighting marks zones and sets the rhythm. Mix all three together and the result is a room that is very bright and very hard to see in.
Control colour temperature and contrast zone by zone. Keep neutral colour temperature and even illuminance along the main route. Allow stronger contrast and colour shifts in the experience zones. Make the rest areas softer and warmer. Running one saturated colour scheme across the whole floor grabs attention for a short while, then becomes fatiguing — and it flattens the graphics on the equipment themselves.
The visual system also covers signage and materials. Signage has to answer three questions: where am I, where do I go, and how much longer. Materials have to be chosen for wear, slip resistance and cleanability. Setting the style from renders and signing it off against site photographs is a reliable way to avoid the “looks great in the visual, looks cheap in the room” outcome.
- Three lighting layers: base, accent and ambient, each with a defined job
- Control colour temperature and contrast by zone; keep rest areas soft and warm
- Signage answers three questions: where am I, where do I go, how much longer
HVAC and ventilation: the underrated baseline for experience
Comfort in a sports venue is nothing like comfort in ordinary commercial space. Occupancy per square metre is higher, activity is more intense and people sweat far more, so an air-conditioning specification that works in an office will usually fall short over a play floor. Estimate the cooling load from the heat gain and occupancy of people in active states, rather than applying an office or retail benchmark.
Fresh air matters more than temperature. A busy, enclosed room with food and beverage and toilets will turn stuffy, develop odours and fog up glass if ventilation is inadequate — and guests will cut their visit short. Keep diffusers off the space directly above equipment: blowing cold air onto players is uncomfortable and leaves both equipment and floor damp over time.
Manage air distribution zone by zone. Play areas need stronger air changes and a lower temperature, seating and F&B areas need gentler air movement, and plant rooms and toilets should be extracted separately and held under negative pressure so odours do not drift onto the floor. HVAC is not set once and forgotten: adjust the operating strategy by season and traffic, and record energy use.
- Size cooling from active-state heat gain and occupancy, not from office benchmarks
- Prioritise fresh air over cooling, and keep diffusers off equipment and guests
- Zone the air: strong ventilation in play areas, gentle airflow in rest areas, negative pressure in toilets
Floors and impact materials: balancing safety, durability and cleaning
The floor is the most underrated line item in the venue. It has to do three jobs at once: absorb impact, resist slips and stay cleanable. The three pull against each other. Softer materials absorb better but are harder to clean and wear faster; harder materials wear well but absorb less. Specify by zone rather than choosing one product for the whole floor.
A practical approach by zone: hard-wearing, easy-clean hard flooring at entrances and along the main route, with slip treatment where it gets wet; impact matting of different thicknesses under equipment according to the severity of the activity, with the landing zones beneath climbing and high-level attractions calculated separately for thickness and coverage; and stain-resistant, easy-clean finishes in F&B and rest areas.
Construction and handover should focus on three details: whether joints are flush, since a lip is a trip hazard; whether edges are fixed down, because lifted edges are a common source of incidents; and whether materials have odour issues and environmental test reports. After opening, put a cleaning and inspection routine in place and deal with wet patches, bubbling and cracks the same day rather than waiting for the next refit.
- Specify by zone: hard slip-resistant flooring on routes, impact matting sized to the activity under equipment
- Check joints, edge fixing and environmental test reports at handover
- Treat wet patches, bubbling and cracks the same day as part of daily inspection
Flexible design: leave headroom for new equipment and events
Sports equipment turns over quickly. Today’s flagship attraction can be superseded by a new product in two or three years. If every square metre is packed with equipment, a future swap means breaking up the floor, rewiring and going back through approvals. The value of flexible design shows up the first time you change equipment.
Flexibility comes from three forms of reserve: electrical reserve (spare circuits and capacity held back in each zone), point reserve (openable floor trunking and fixing points), and spatial reserve (an area that can be cleared for tournaments, birthdays, team-building and temporary displays). Reserving all three costs far less than retrofitting later.
Choose movable furniture and partitions wherever possible: folding tables and chairs, movable barriers, modular display frames. The same floor area can then be an experience zone on weekdays, a tournament zone at weekends and a private-hire zone during events, lifting both revenue per square metre and programming flexibility.
- Three reserves: electrical capacity, floor points, a clearable area
- Prefer movable, folding and modular furniture and partitions
- Switch the same area between experience, tournament and private hire by time slot
Multi-level and irregular space: turn constraints into a signature
Multi-level buildings and irregular floor plates are usually seen as difficult projects, but they can also become a point of difference. With multiple levels, vertical circulation is the key: the position of stairs and escalators decides whether guests are willing to go up. A good rule is to make going up easy and coming down natural, and to place something people must experience on the upper level — flagship equipment, a tournament zone or a viewing deck. Otherwise the upper floor quietly becomes dead space.
Irregular space — raking columns, low beams, long narrow runs, non-orthogonal grids — needs the unusable parts identified first, with usable area organised around them. Low-beam zones suit seating, storage or low-profile equipment. Angled corners and recesses suit photo spots, single-player experiences or enclosed micro-rooms. Making a feature of the constraint is usually cheaper than forcing the floor flat.
Whether multi-level or irregular, three things have to hold: sightlines work (key positions can see the lower floor or the main arena), escape routes are clear (every level has its own exit or an unmistakable direction of travel), and staff service radii are sensible (staff are not crossing multiple floors to restock or clear a fault). Those three decide whether the space is genuinely usable, not merely photogenic.
- Multi-level: easy up, natural down, with must-visit attractions on upper floors
- Irregular: mark what cannot be used first, then turn recesses into photo spots and micro-rooms
- Three tests: sightlines, clear escape, sensible staff service radius
Delivery: from design brief to construction handover
Delivery runs in five steps: brief (area, clear height, target audience, budget and opening date) → concept design (zoning and circulation) → detailed design (equipment positions, power and water, fire, lighting, HVAC and ventilation) → construction coordination (setting-out checks, inspection of concealed works) → pre-opening handover (equipment commissioning, safety testing, signage and cleaning). Every step needs a deliverable that can be signed off.
Three points account for most of the rework: equipment positions moved after construction has started, power and HVAC capacity turning out to be short only when the equipment arrives, and fire compartmentation conflicting with the design. All three trace back to incomplete information at brief stage. Locking the equipment list, per-unit power draw, drainage and ventilation requirements and maintenance clearances before detailed design begins removes most of that risk.
Do not sign off on “does it switch on”. Confirm item by item: equipment fixing and safety clearances, emergency stops and guarding, floor slip resistance and impact absorption, lighting levels, measured HVAC and ventilation performance, unobstructed escape routes, complete signage, and reachable cleaning and maintenance routes. The more specific the checklist, the fewer the faults and complaints after opening.
- Five steps, each with a deliverable that can be signed off
- Three rework points: equipment positions, power and HVAC capacity, fire compartmentation
- Sign off on safety, comfort and reachability, not just on whether everything powers up
FAQ
The unit is not large — do we still need strict zoning?
You need it more. The smaller the floor, the more obvious circulation conflicts become, and a single jam affects the whole experience. Small venues can use a shared-space approach, where the same area serves different functions at different times — an experience zone during the day, cleared for tournaments in the evening — but entry and reception and the support and dwell area should still stay distinct.
With limited clear height, which attractions should we drop first?
Drop the ones that need significant clear height and cannot be worked around through equipment choice — high-level climbing and large suspended experiences, for example. Spend the height you have on equipment whose graphics need to be seen in full, and use mirrors, lighting and viewing angles to reinforce the sense of space. That is a safer trade than forcing in a tall attraction.
Should circulation design be handled by a professional design firm?
It depends on complexity. A single-level venue with a modest floor and a limited equipment range can be planned in-house using the four-band structure and the main-route principles. Where there are multiple levels, irregular floor plates, fire compartmentation or a lot of bespoke circulation, bring in a designer with venue experience and have the equipment supplier join the setting-out review.
What is most often overlooked in equipment layout?
Maintenance access and queue areas. The first affects day-to-day servicing efficiency; the second affects the peak experience. Layout should count the unit, its safety clearance, the queue area, the spectator area and the operating aisle together — not just draw around the equipment footprint.
How large should the waiting area be?
There is no universal figure; it should be estimated from the companion ratio and dwell time at peak. A workable starting point is zero to one companion seat per player, adjusted against actual traffic. Keep the seats positioned so they can see the floor, and put drinks and light food close by so that dwell time generates spend.
How can rework be controlled at design stage?
Lock the critical information before detailed design begins: the complete equipment list, per-unit power draw and total capacity, drainage and ventilation requirements, maintenance clearances and fire compartment boundaries. Then carry out setting-out checks and inspect concealed works during construction, so problems are found and resolved before they are covered up — which is the cheapest moment to fix them.
What standard should HVAC and ventilation be designed to?
Do not simply apply office or retail standards. Estimate the cooling load from occupancy and heat gain in active states, and treat fresh air volume as a separate metric. Keep diffusers away from the space directly above equipment and from areas where guests sit for long periods. It is worth running a measured test before opening, so you can confirm performance on a hot day at full occupancy.
What is the safest way to choose floor materials?
Choose by zone. The main route needs hard-wearing, easy-clean flooring with slip treatment; equipment zones need impact matting sized to the severity of the activity; landing zones beneath climbing and high-level attractions need their own impact calculation for thickness and coverage; F&B and rest areas should prioritise stain resistance. Whatever you choose, flush joints, fixed edges and environmental test reports are non-negotiable checks.
How should circulation work across multiple levels?
The core task is giving people a reason to go up. Put flagship equipment, a tournament zone or a viewing deck on the upper level, and provide clear direction at the foot of every stair and escalator. Make sure key positions can see the main floor, and that each level has an obvious escape direction. At the same time, keep staff service radii tight so restocking and repairs do not mean repeated trips between floors.
RELATED
- Indoor Digital Sports Venue Investment & Opening Guide
- Digital Sports Equipment Procurement & Selection Guide
- Mall Digital Sports Park Planning Guide
- Arcade & FEC Digital Transformation Guide
- Digital Sports Venue Operations & Repeat-Visit Playbook
- Digital Sports Venue Marketing & Local Customer Acquisition Guide
- Digital Sports Venue Safety & Maintenance Management Guide
CONTACT
Send us your site conditions
Share the city, floor area, clear height, column spacing, level and target opening date, and we will outline zoning recommendations, a draft circulation route and a reference framework for equipment layout.
2026-11-09